How To Maintain Your Meindl Boots
Boot Care - From Beginning to End
Boots, really good boots, are an investment. We are fully aware of that, which is why we are committed to continuing to educate our customers with in-depth information to help you through the process of selecting, sizing, and purchasing boots. But that is just the beginning.
You've compared boot features and weighed the benefits they provide; you know where you're going, the conditions you will face, terrain, off-trail conditions, and what kind of activity you will be doing. If you need help with this, see Choosing Your Meindl Boots or give us a call (1-833-563-0101). Next step is how do you protect your investment and make sure these boots continue to perform at their peak for years to come.
Here are four simple steps to do just that:
Step #1: Before the First Use
When you receive your boots and determine your boots fit correctly (How Do I Determine if My Boots Fit), it's time to get them out and start the break in process (For any questions - see Breaking In Your Boots).
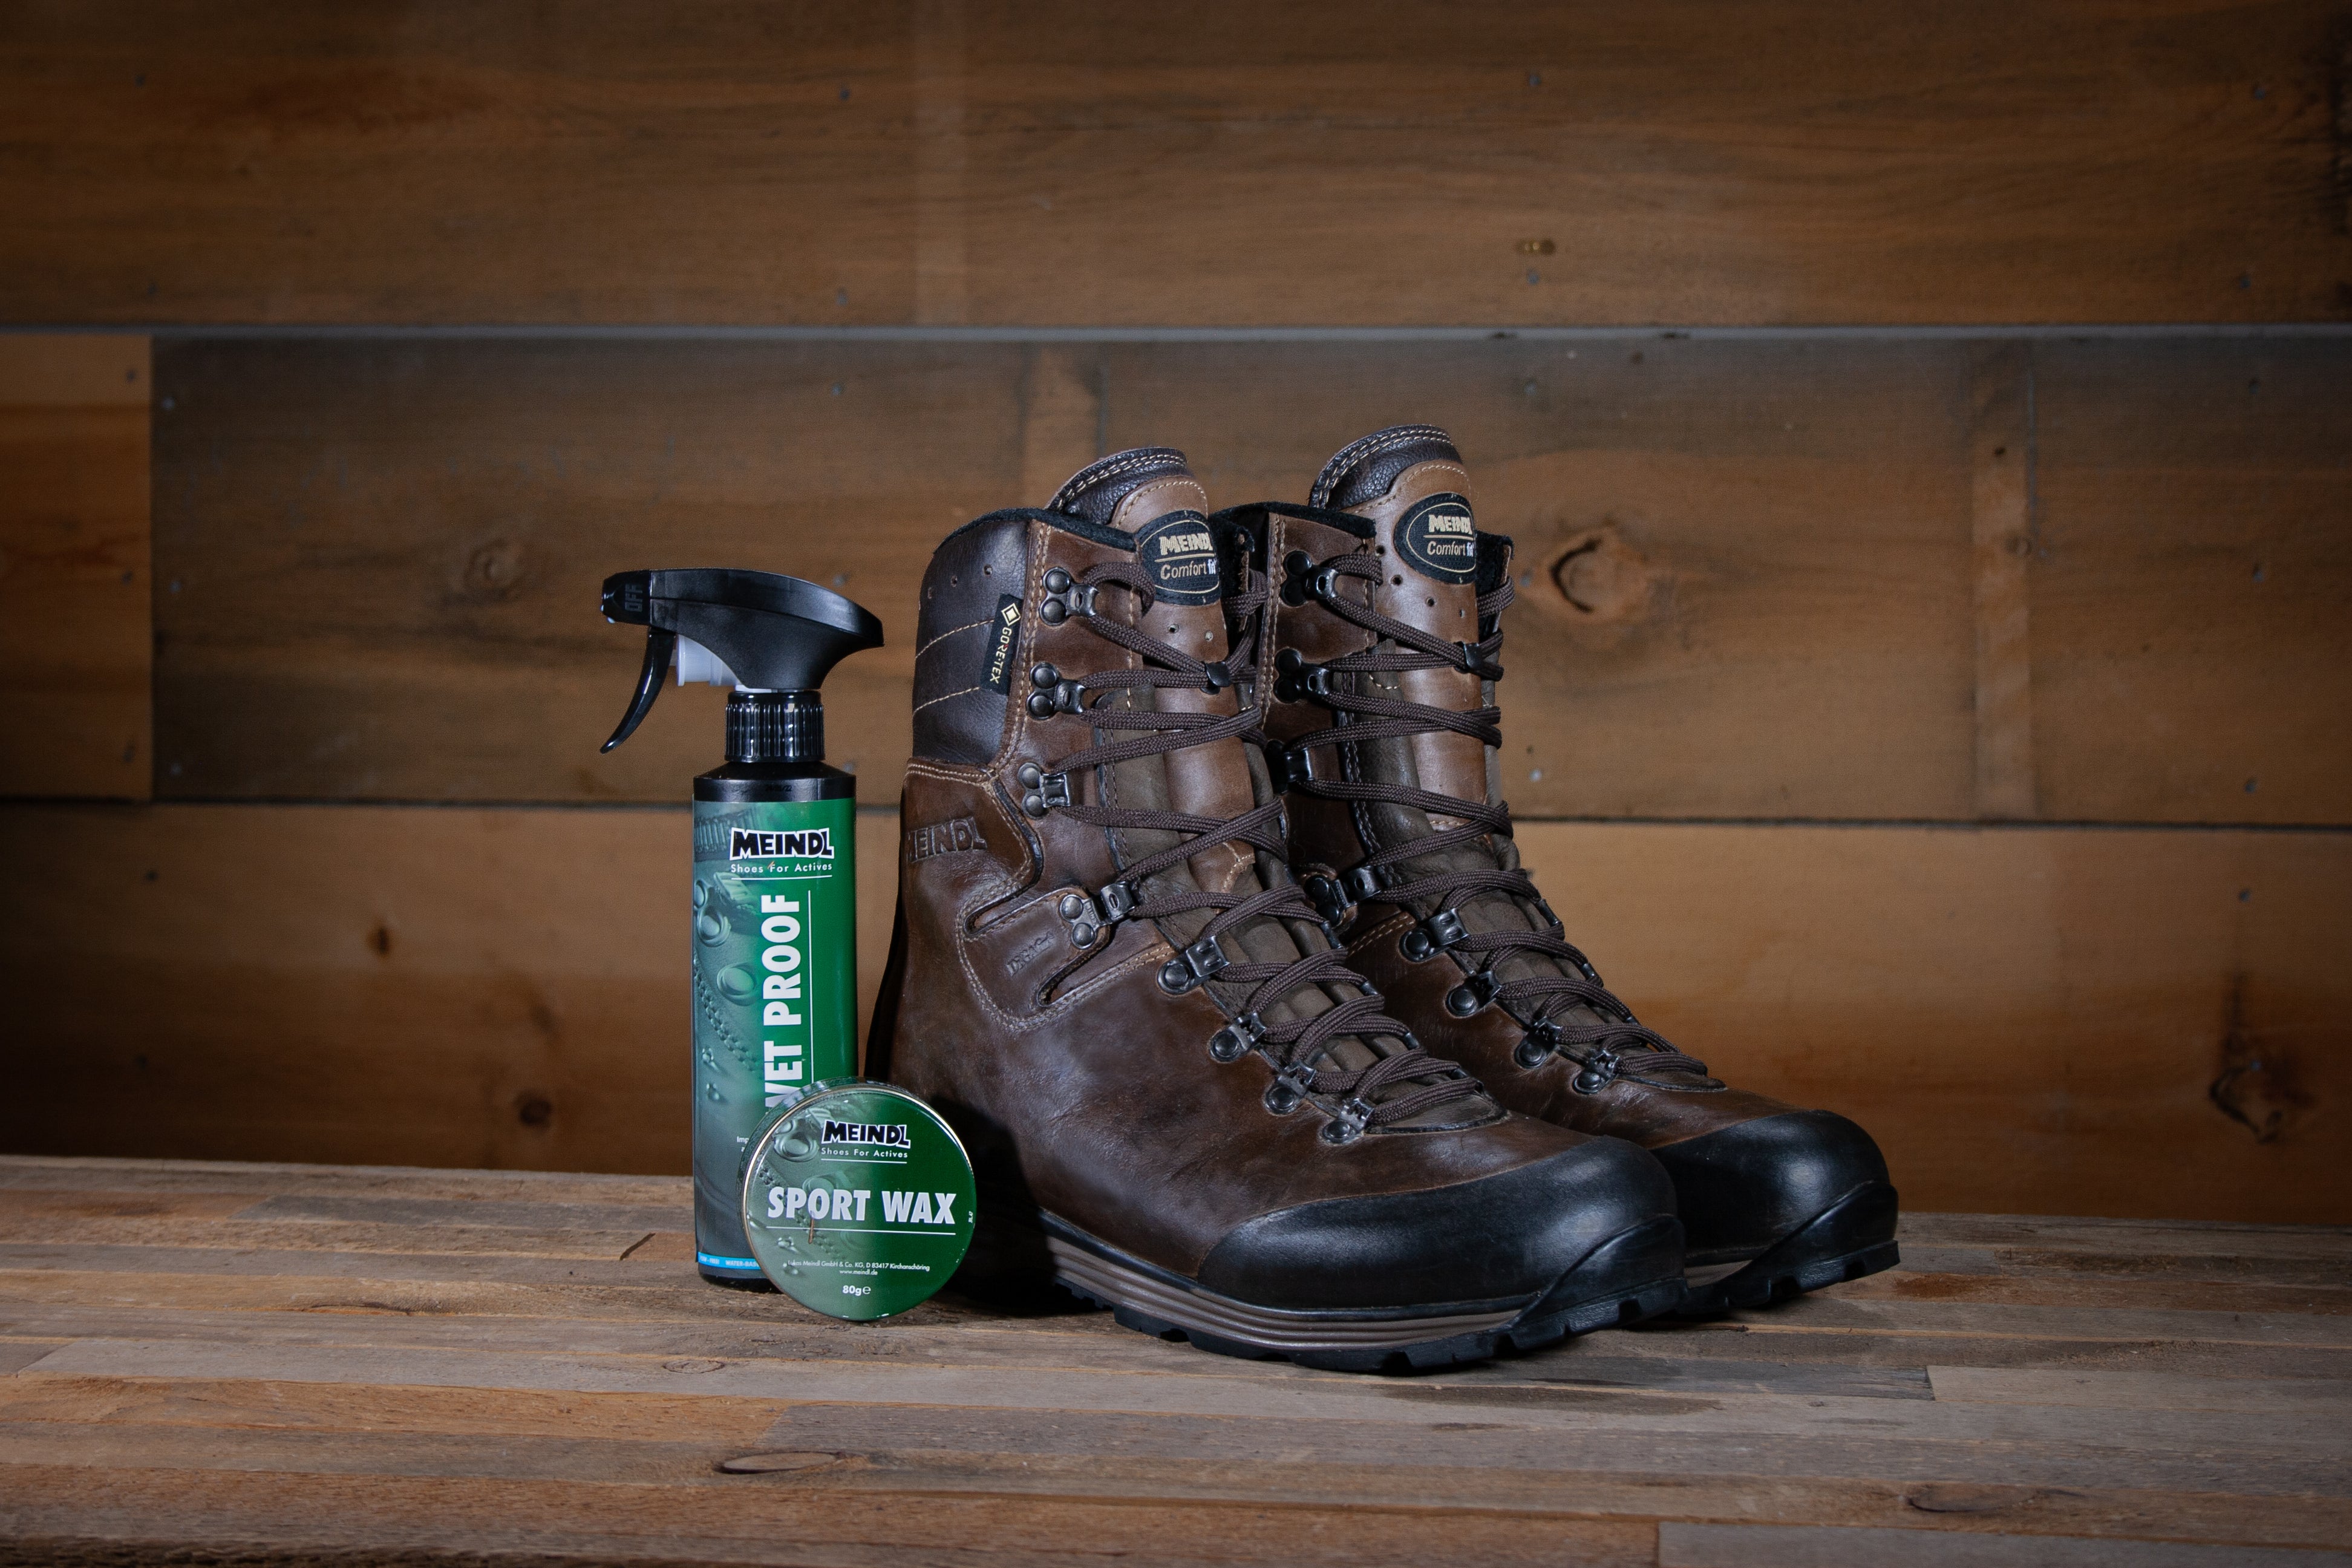
All Meindl Boots come out of the factory treated and ready for you to get out. However, if you want to ensure the boots are in peak condition from the moment you hit the field you can give them a quick treatment with our Meindl Wet Proof and let that sit for 24 hours and then apply Meindl Sport Wax
Tip: Before applying Meindl Wet Proof or Meindl Sport Wax, remove boot laces so you can treat the deepest, darkest nooks and crannies.
Step #2: Clean and Inspect Your Boots
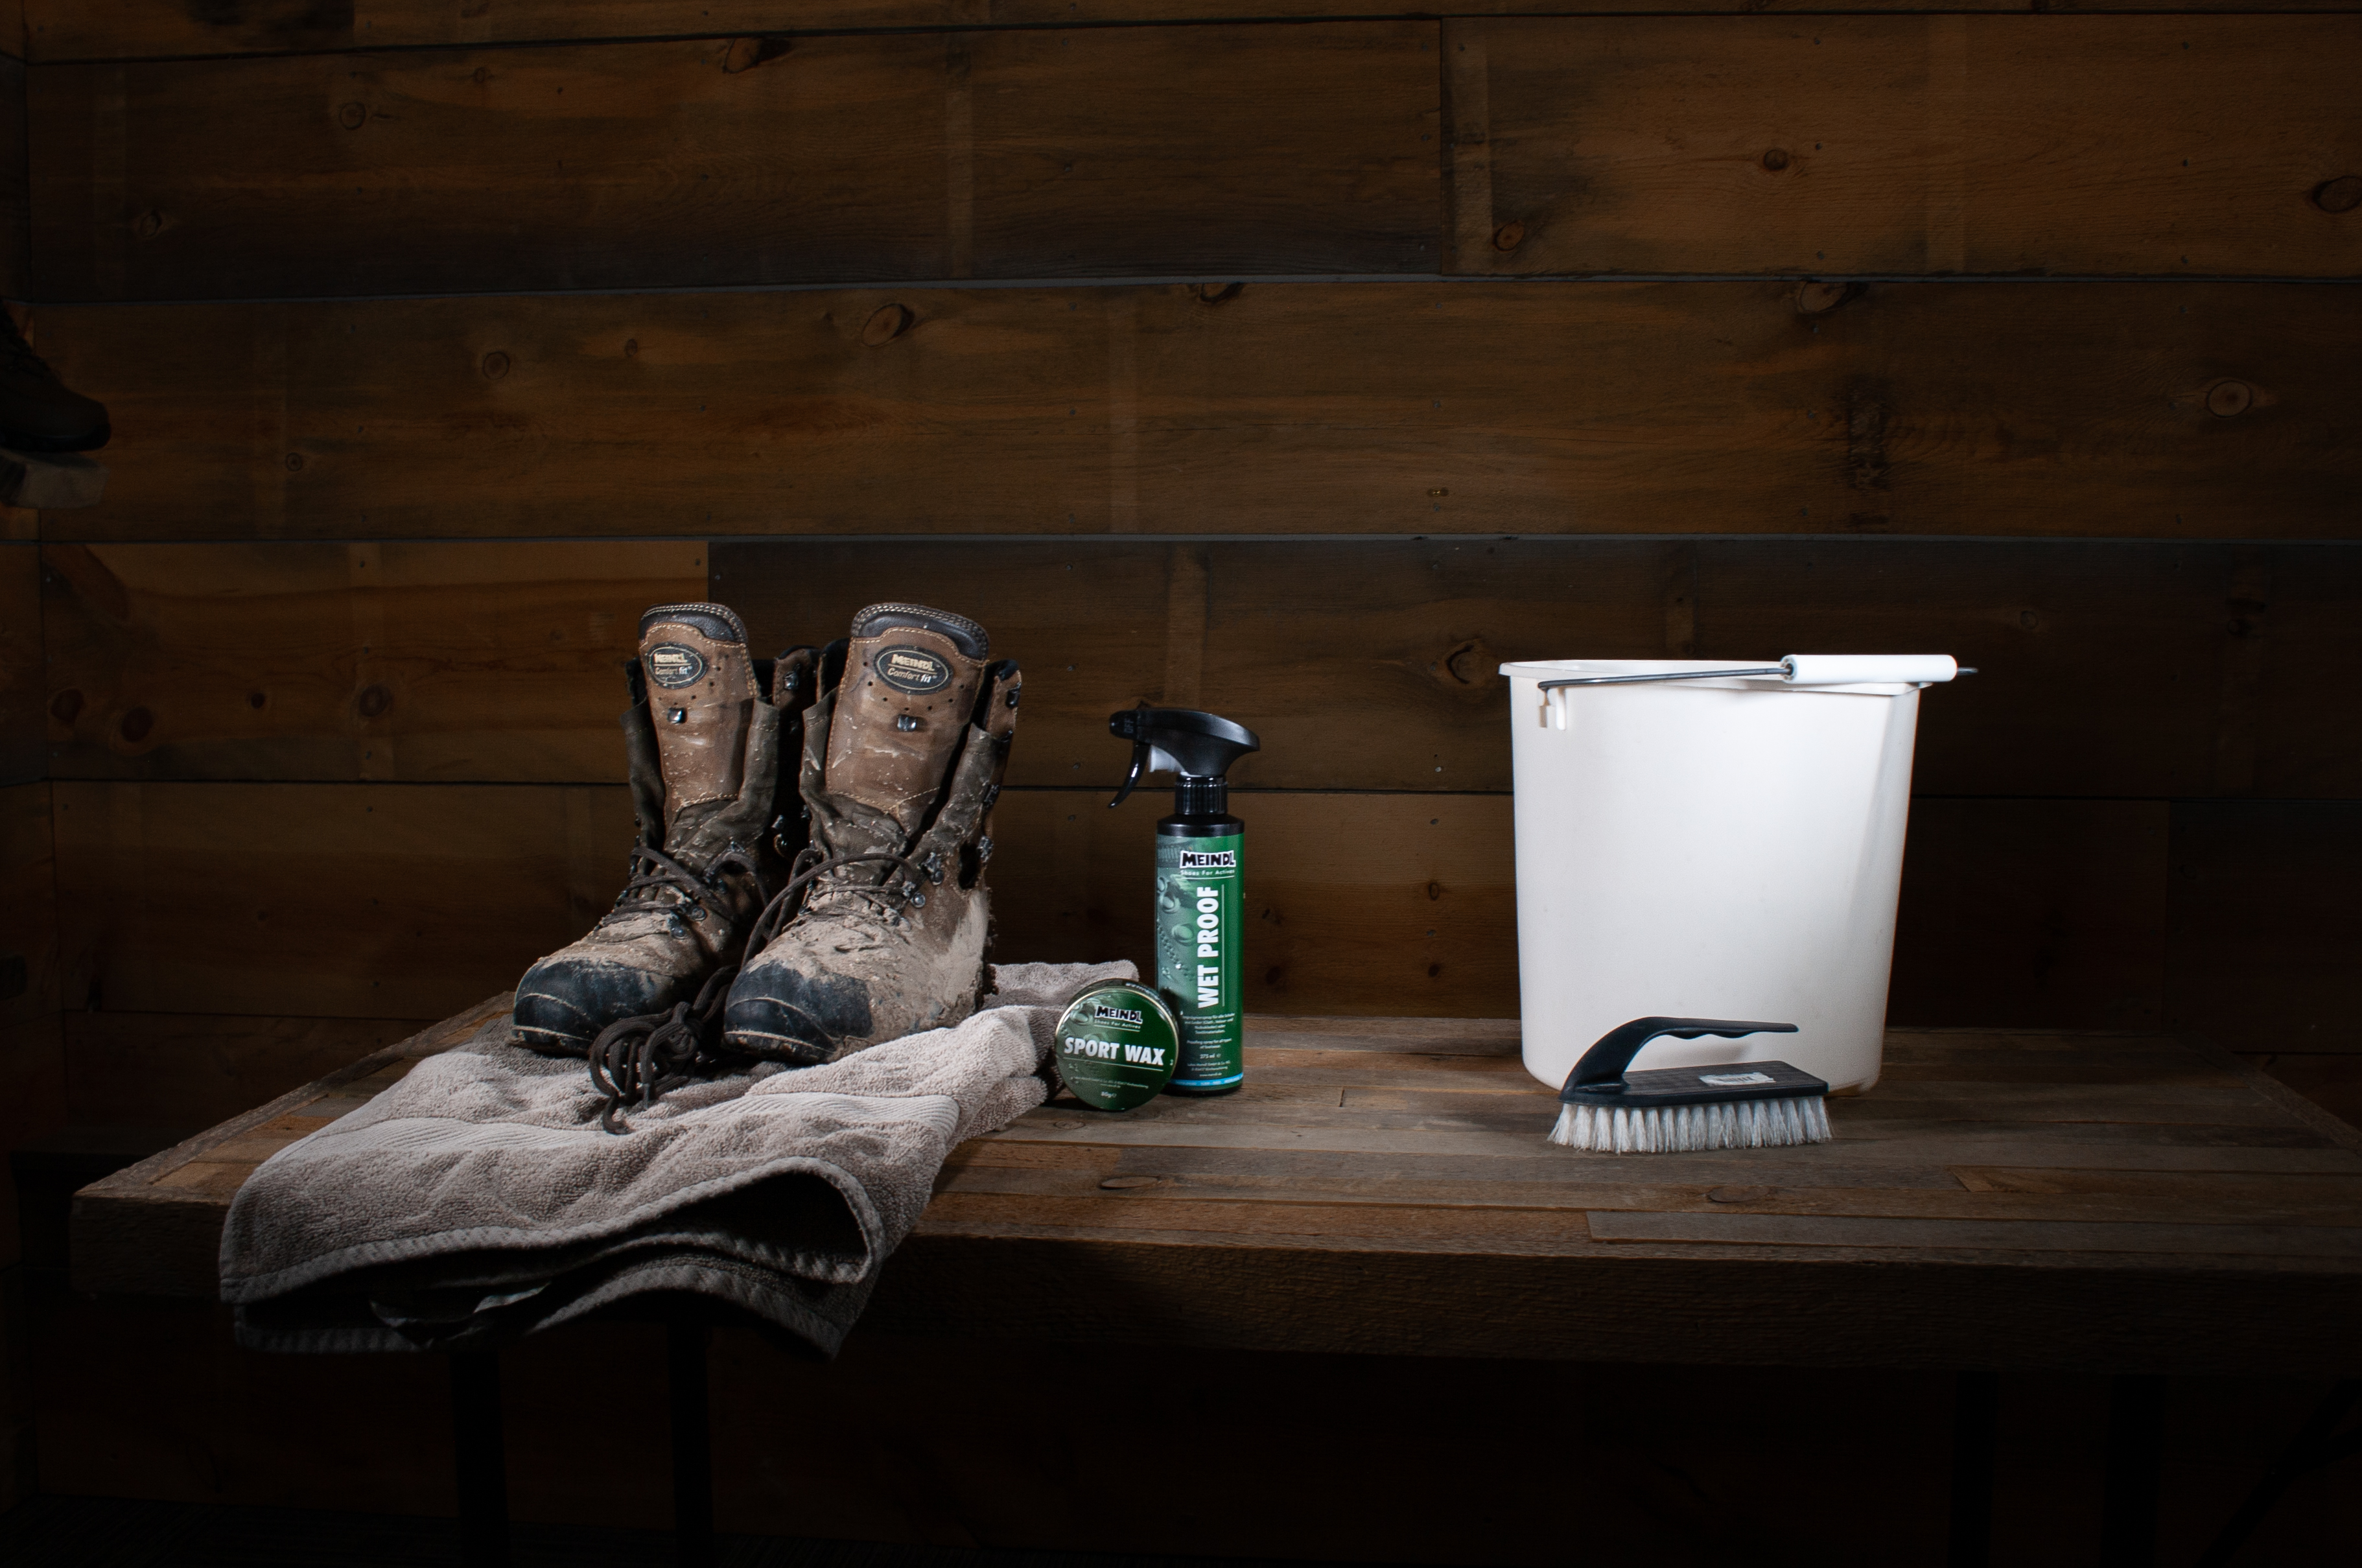
Ok. You've worn your boots, worn them hard and they are showing it. Let's say you've been slogging through streams, up muddy hillsides and into the rugged alpine. Or put on mile after mile across the rugged, rocky, sun-beaten, arid plains of a Sergio Leone western. Whatever the case, you've determined your boots have earned some TLC, at least a good cleaning and re-conditioning.
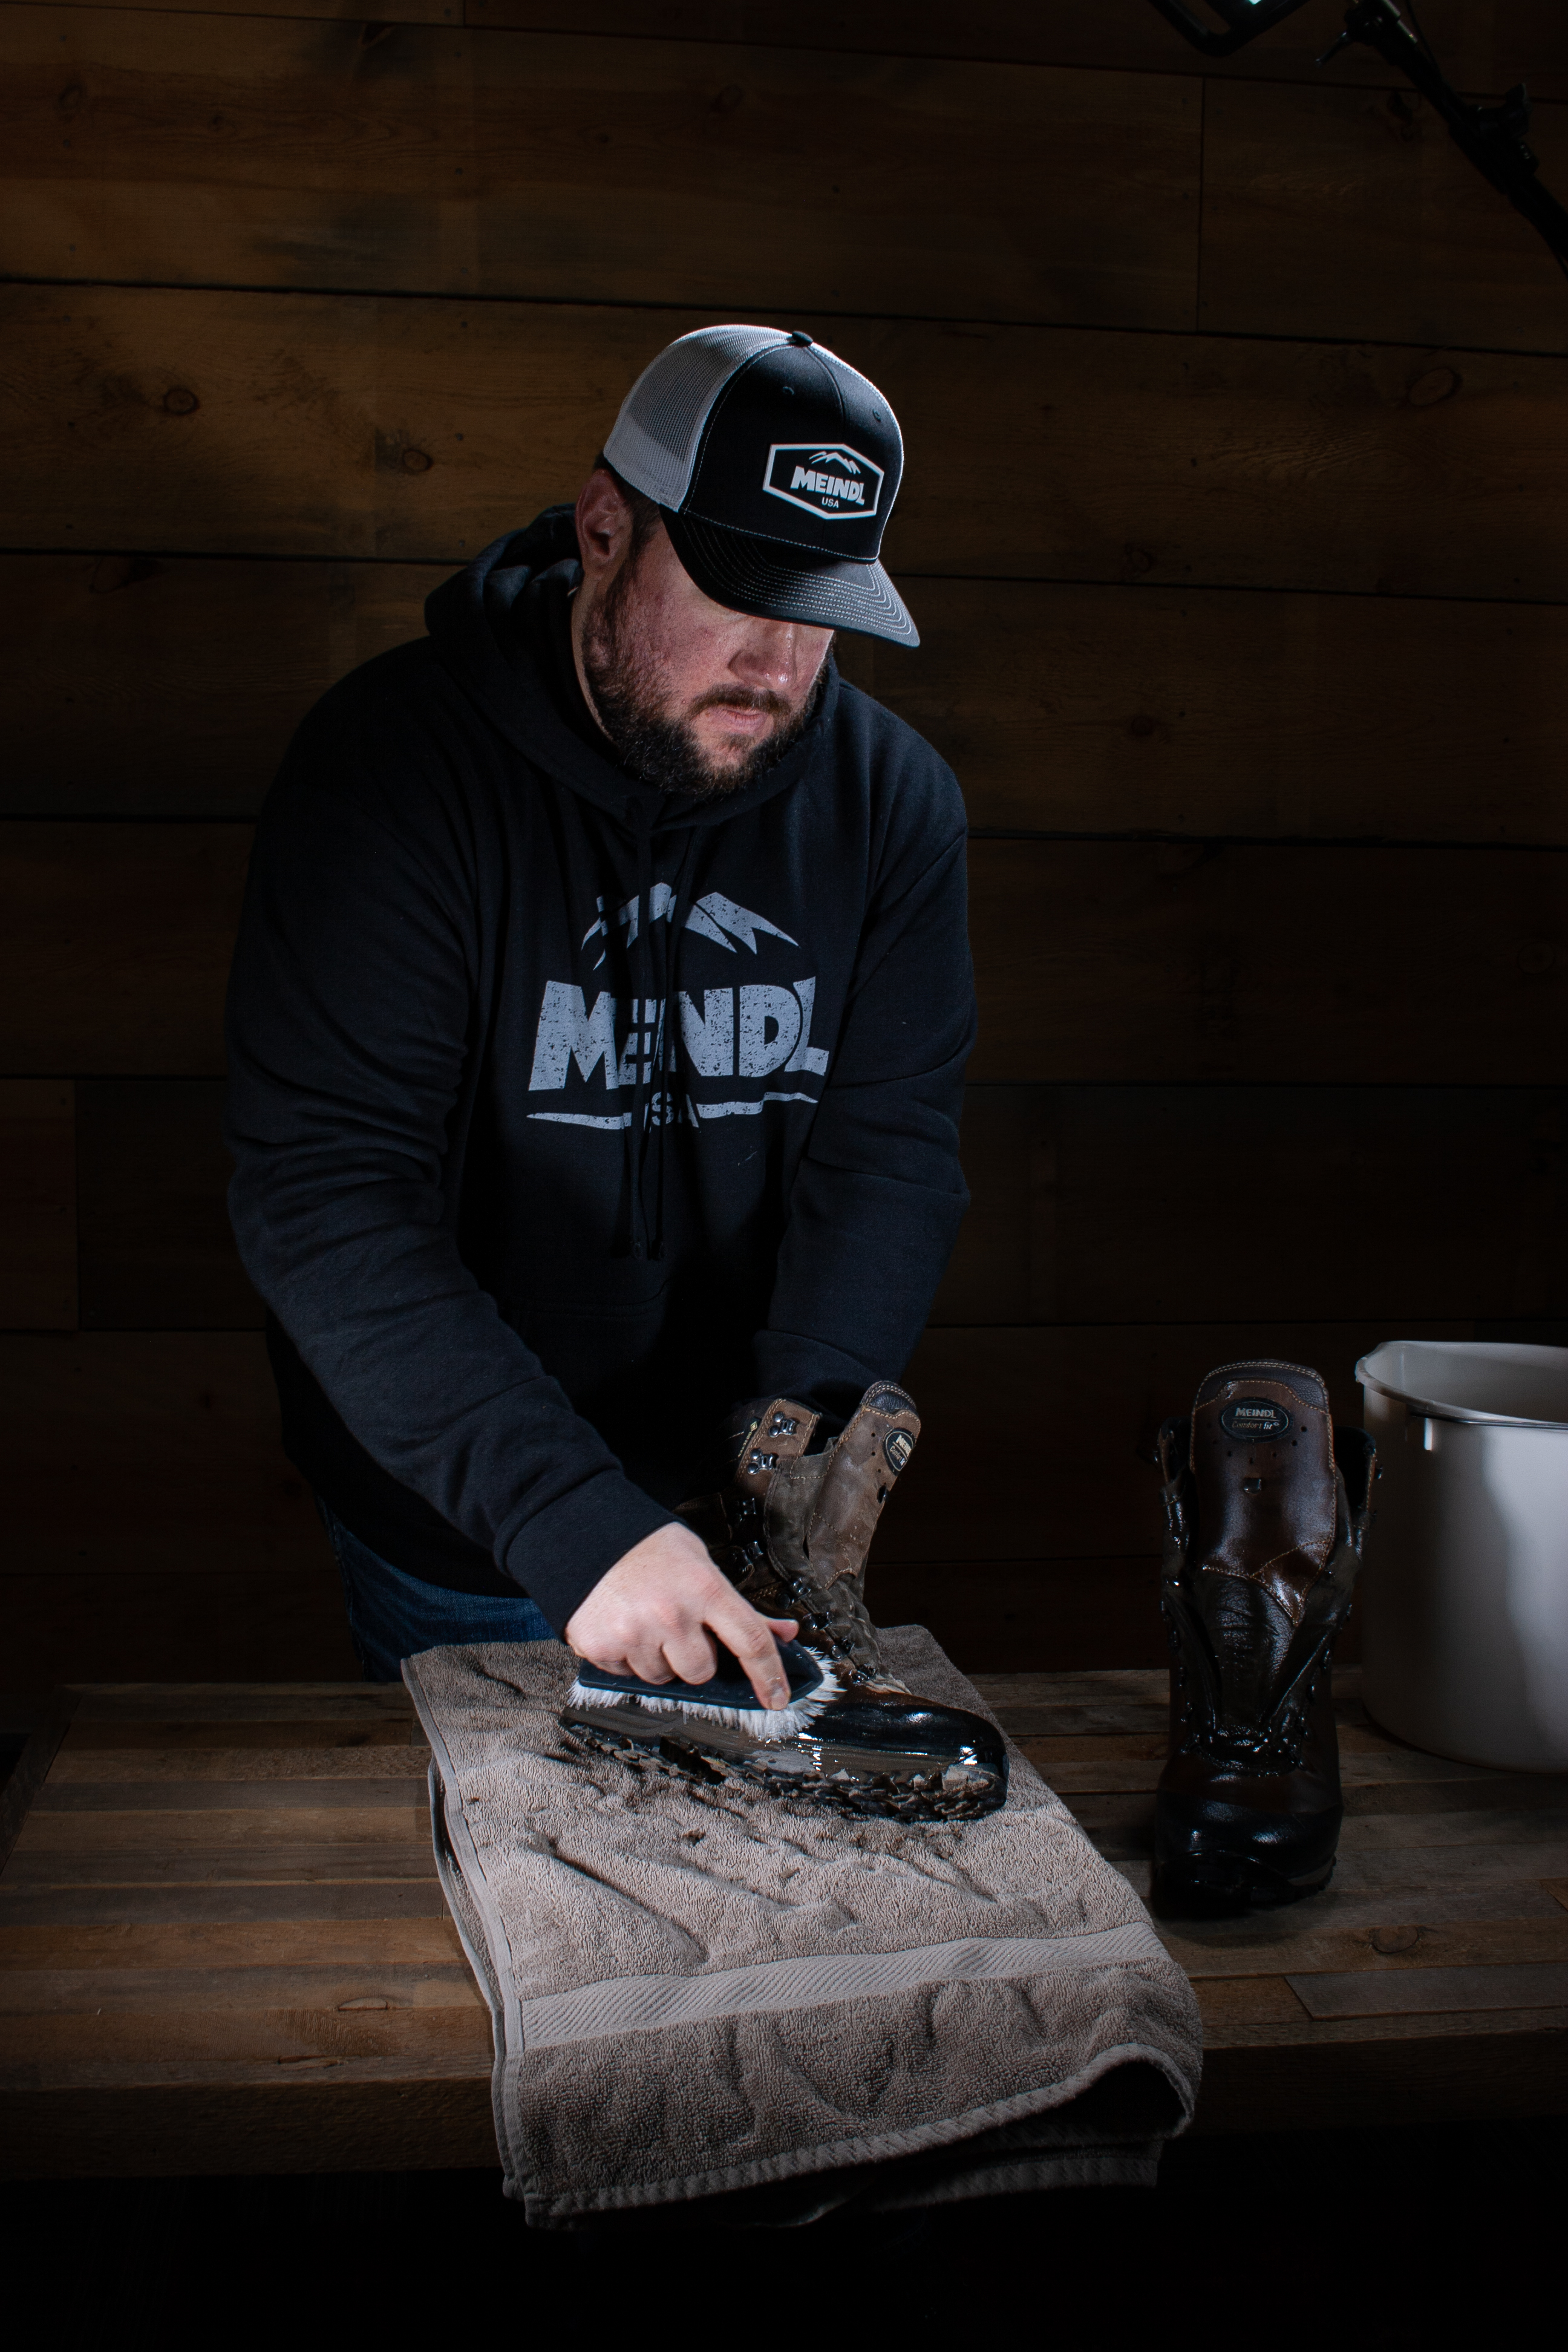
Start by removing the insoles and dumping and wiping excess dirt or debris out of each boot; then remove the laces so on the next steps you can be sure to get in all areas of the boots, every crease and crevasse. Using a soft brush, clean loose dirt from the outside of each boot - with laces removed. Once all loose dirt has been removed, it's time to go after any stubborn, hard mud. Use warm water and your soft-bristled brush to remove all remaining dirt, dry or wet mud and debris. Pay particular attention to the welt area, where the boot upper is attached to the sole, to clean and protect stitching in this critical area.
Next is a thorough cleaning of the inside. You've already cleaned out the worst of the dirt and debris but this is important so we're going to do it again. There is a potential for rocks, pebbles, sticks and other junk to poke holes or break up the integrity of the waterproof, breathable Gore-Tex liner. Use warm water and a sponge to clean the interior of each boot, making sure all debris is out. The warm water, by the way, will not damage the lining.
Now that the boots are clean, inspect for any damage. Having gone through the cleaning process, you probably are already aware of nicks and dings in the leather that has incurred as your boots endured the impact, trials, and tribulations of taking trails less traveled. They may even look a little worn, and tired but all that adds to the character of good boots. But what we're looking for when inspecting the boots is damage, so inspect the rand (and stitching) where the boot attaches to the sole. Constant soaking/drying/soaking/drying may cause the rand to begin to separate, especially if the leather has not been properly conditioned. For rands that have started to separate, the remedy is to simply use glue (recommended for boot repair) to tack it back into place - if caught early this is a simple remedy. Deep gouges, rips, broken stitching, or other major damage may require the expert attention of a cobbler. Scratches, nicks and shallow gouges will benefit from the next step.
Step #3 Waterproof and Condition Your Boots
First, identify whether your boots are made of nubuck or suede leather, as the material determines the care process.
Suede Leather

Nubuck Leather
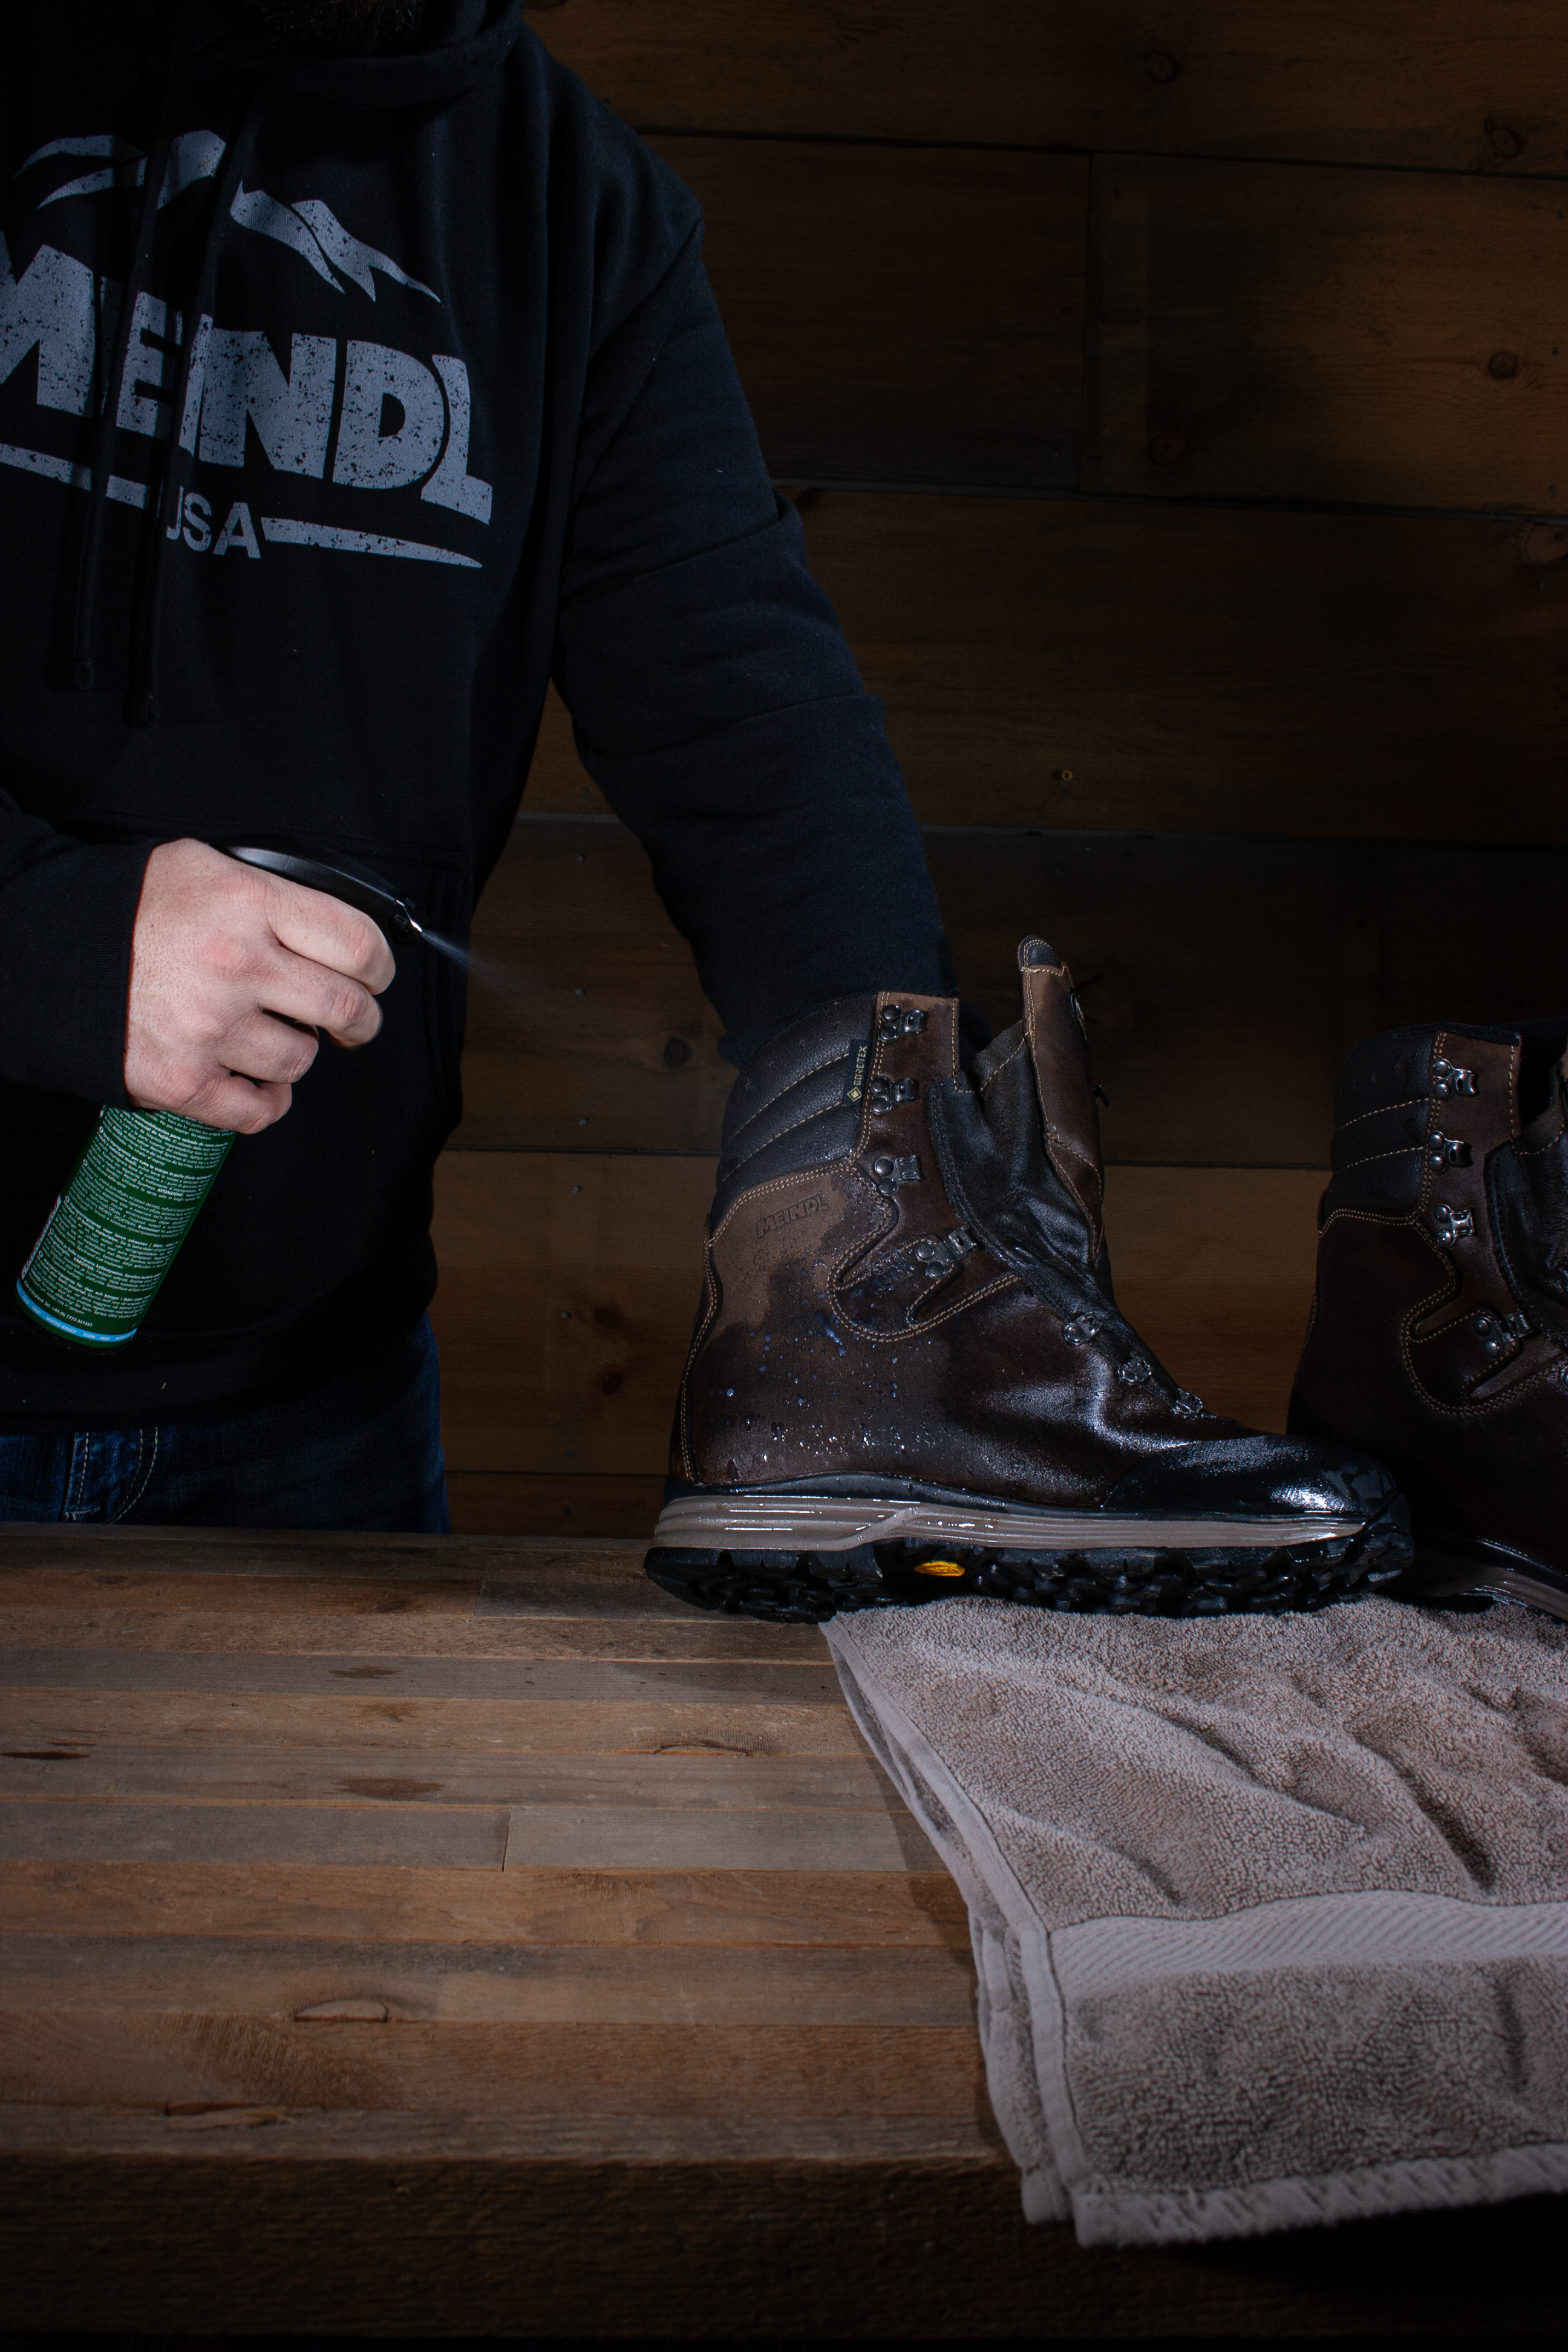
The next step is to replenish the DWR and recondition the leather. Let your newly cleaned boots start to dry but not too much; while the leather is still damp apply our Meindl Wet Proof. This is the best time to apply the Wet Proof treatment because the damp leather pores are open, allowing the waterproofing treatment to penetrate. After applying the Wet Proof, let the boots sit in a room-temperature, dry area for 24 hours so the treatment has time to soak in and maximize its protection.
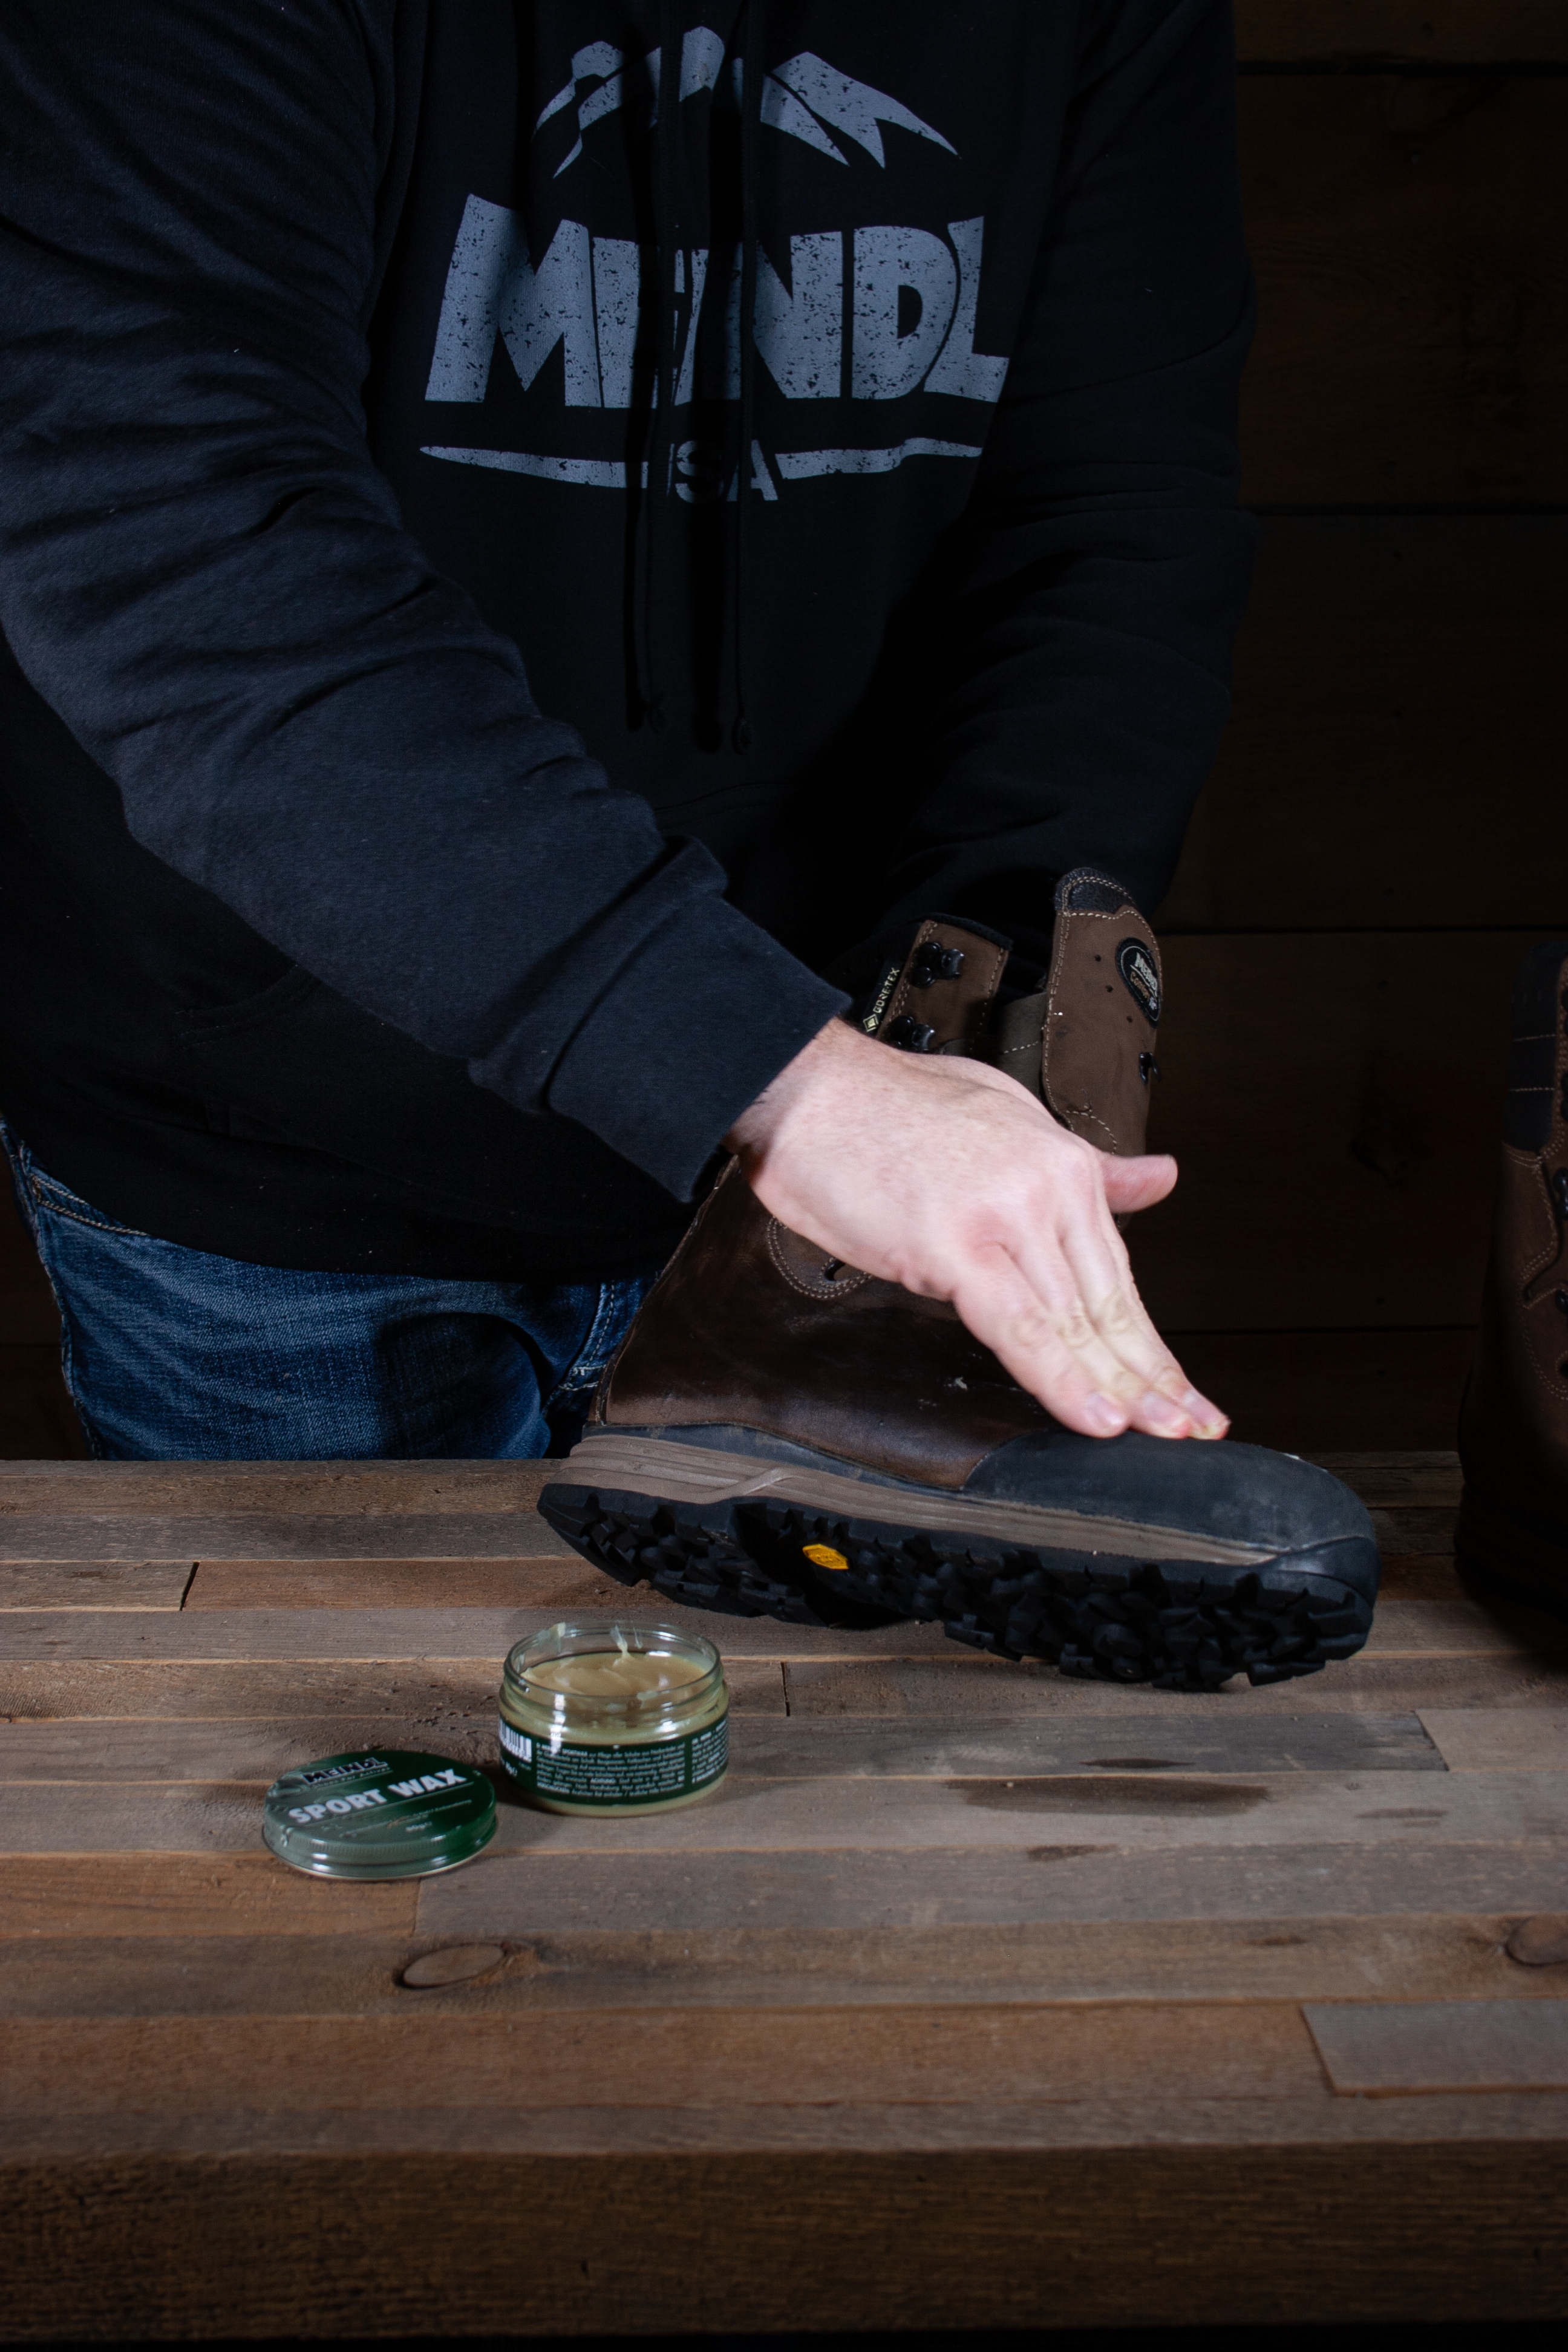
After 24 hours, use a sponge or cloth to apply Meindl Sport Wax to all exterior leather areas, making sure to work it into the nooks and crannies of the tongue and welt, the connecting point of the leather upper and sole. Be sure to apply the Sport Wax to all metal hooks and eyelets to help prevent corrosion.
Treatment with Wet Proof and Sport Wax won't heal hard-earned scratches and scars but it will help protect further damage.
IMPORTANT: Do not heat Sport Wax before applying. Doing so can cause it to penetrate too deep and impair the leather's breathability and your wearing comfort.
Here's why Sport Wax is so good. It is made with a base of natural beeswax, one of the oldest, proven conditioning treatments for leather boots. Sport Wax helps preserve and restore the natural qualities of leather while preventing drying and cracking, all without clogging pores. Like your skin, leather has natural qualities (including pores) that with care and attention will be better prepared for the outside world.
Warning: DO NOT apply oils or grease on any of our boots. There are two reasons: First, oil and grease products can cause boots to lose strength and stability. Second, oil or grease will migrate throughout the leather which can cause the rand and outsoles to delaminate from the boot.
Step #4:Properly Drying and Storing Your Boots
After your boots have been cleaned and treated it is time to move on to the last step. The goal is to let your clean and treated boots dry slowly with the tongues wide open in a room-temperature area with low humidity or in a dry, shady place.
WARNING: DO NOT use a direct heat source such as a radiator, heater, fireplace, heated boot dryer, etc. Wet leather is very sensitive to heat which can cause cracking and damage affecting performance and longevity.
For quicker drying, stuff newspaper or absorbent paper into each boot, packing it loosely but completely into the foot of the boot. The paper will absorb moisture from the inside; and changing the paper frequently will expedite the process.
You should always store leather boots where temperatures are stable, cool and dry. Do not store them in the attic, garage or any hot, damp or unventilated area. Improper storage or lack of use can actually cause damage to the rand and soles resulting in delamination from the boot. Believe it or not the worst thing for your boots is long term storage. Meindl boots are meant to be worn and not tucked away in a closet, by wearing these boots even in the off season (whether it's a short hike, walk around the block or town) it's crucial to keep your boots moving in the open air.
When you invest your money in high-quality boots you expect them to perform for you and with these simple care and maintenance steps you can help assure they continue performing at the highest level. Quality boots deserve care and attention. Trust us on this. You - and your feet - will thank us the next time you lace up.
LAST WARNING: Keep your boots away from fuels, oils, manure, fertilizers, etc. If your boots come in contact with these products, clean them as soon as possible. Such products can cause boots to break down resulting in boot failure which, according to Murphy's Law, will happen at the worst possible time on your hunt.